While cement has dominated the construction industry from the introduction of Portland cement in the 19th century, lime mortar now is experiencing a resurgence in popularity because of its environmentally friendly nature. Cement was mainly used to decrease the time of building, but the material has some disadvantages compared to lime mortar. One of the differences is when buildings are build with softer bricks, then preferably when encountering minor movements in the building, then the mortar should break and not the masonry, with cement the masonry might break but with lime mortar, the lime mortar will break.
In this blog, we’ll explore the benefits of lime mortar, how to mix the material, and best practices for using it in masonry.
The difference between lime mortar, lime plaster, and lime render
First, let’s look at the differences between three different kinds of lime materials:
Lime mortar
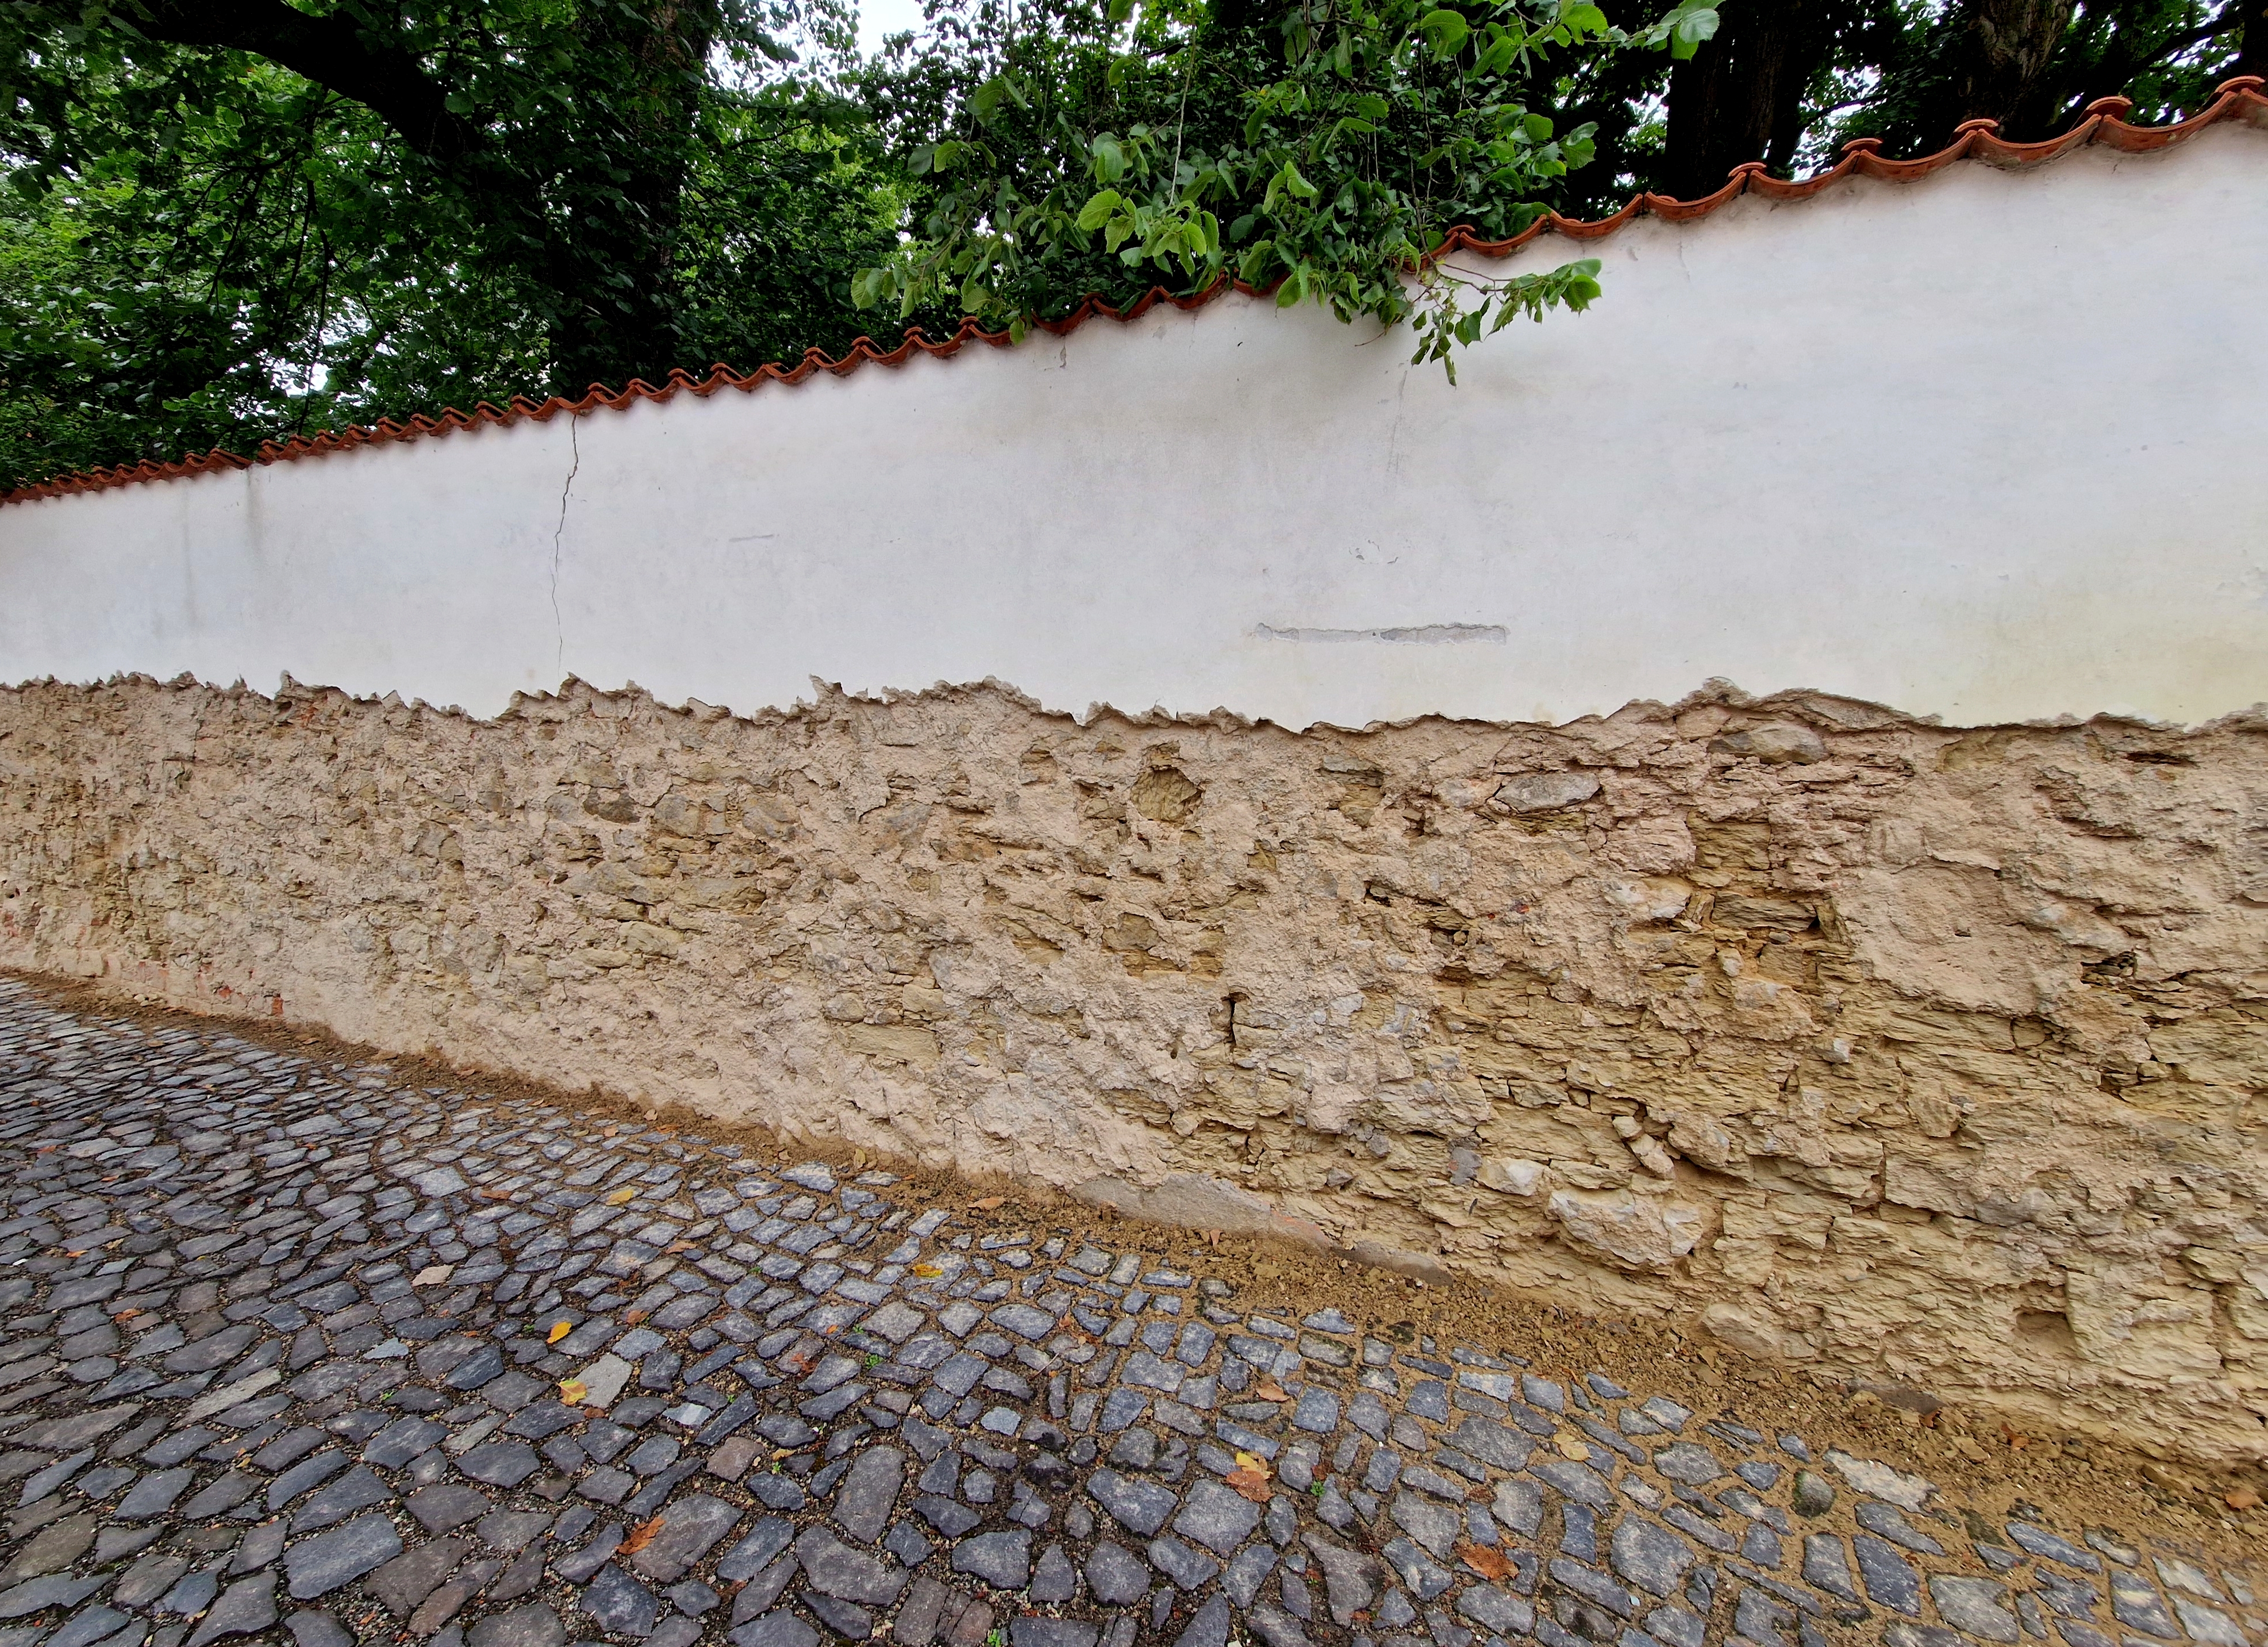
Lime mortar is used for lime pointing, repointing old lime and general building with bricks and stone. There are 3 different kinds of lime that is used for making mortars. Hydrated lime, hydraulic lime and lime putty. Each type has it own skills, we will briefly go through them.
Lime plaster
Lime plasters are used on the interiors of buildings such as walls and ceilings. It’s applied in three coats, and sometimes the first coat has fibres such as horse hair added to increase tensile strength and reduce the risk of cracking. Lime plasters are often made of lime putty (see below definition). Often lime plasters and lime renders are used similarly, but the difference is that lime plaster is used for inside of the house and lime renders are used for the outside of the house.
Lime renders
Lime renders are similar to lime plasters - and often even the exact same material, just a bit rougher, - but are used for the outside of buildings to protect from harsh weather conditions. Lime renders are often made with lime putty (see below definition). The rougher the finish of lime render, the better the building will be protected for the weather conditions.
Hydraulic Lime
Hydraulic limes set underwater and are made using specific limestone. Sold as hydrated lime, they initially set when water is added and gradually harden while absorbing carbon dioxide. Higher hydraulic limes set faster and have greater strength, but are less breathable and flexible.
Hydrated Lime
Hydrated lime is produced by adding a controlled amount of water to quicklime, increasing its stability and safety for handling. This process can be applied to both hydraulic and non-hydraulic lime.
Lime Putty
Lime putty can be made from either hydraulic or non-hydraulic lime by adding an excess of water to quicklime. Hydraulic lime putty sets underwater quickly, while non-hydraulic lime putty remains malleable and improves over time, making it more practical for certain applications.
So which of the above mentioned types should you use?
No right answer to that, but some quick directions:
-
The lime mortar should be softer and a bit more porous than the building material used for the main building.
- The more exposed the lime mortar or lime render is, the bigger need for a fast setting and greater durability.
- The less hydraulic the lime is, the more the building will be flexible and have movement – which is preferable for e.g. timber structures.
The benefits of building with lime mortar
Because of its porous structure, lime is highly breathable. This means it resists moisture build-up as water is free to evaporate, subsequently preventing damp or mould from forming. In comparison, water can become trapped within cement, causing damp and structural problems which are often extremely expensive to repair.
Lime mortar is also flexible, which means that it will expand or contract in changing temperatures without cracking. There’s therefore no need for expansion joints when building with lime mortar, saving on costs.
It’s a smooth and workable material that is easy to mould, while it also has a natural-looking aesthetic and can be matched to the colour of an existing building when used in restoration work.
Lime mortar’s eco-friendly qualities
Limestone, the raw material for lime products, is burnt at a much lower temperature than cement - 900 compared to 1300 degrees, which therefore uses substantially less energy. In the production process, the lime reabsorbs some of the CO2 which is stored in the material throughout its life.
As a natural material, lime won’t leach dangerous or toxic chemicals, and is therefore safe for human health and the natural world. Lime can also be produced locally on a small scale, cutting down on transport emissions, and it can be combined with other eco-friendly materials such as hemp or straw. Finally, while cement is destined for landfill, the lime masonry can be deconstructed and reused at the end of its life.
Mixing lime mortar
Lime mortar is typically mixed in a forced action mixer, or you can use a paddle mixer. The ratio for the lime mortar mix is 1 part lime to 3 parts sand (for lime plasters and lime renders, the mix should be 1 part lime to 2,5 parts and use of sharp-washed sand. The procedure for applying plasters and renders are a bit different, as the number of coats needed, (usually up to 3 coats) will ensure the roughness of the final layer. The parts should be measured carefully in a gauging box or bucket to ensure the quantities are accurate.
So get your forced action mixer. Plug in the vacuum cleaner to your SoRoTo Dust Controller (Lime mortar is generally less dusty than cement-based mortars, as it contains fewer fine particles, but taking precautions to minimize dust is still advisable to improve air quality and safety.
Follow these steps to mix lime mortar:
1. Add 1 part sand to the forced action mixer.
2. Add 1 part lime.
3. Then add the remaining 2 parts sand.
4. “Dry” mix for some minutes, (a forced action mixer will mix this faster than a drum mixer, so time will vary per machine type).
5. Add the water little by little. If it looks too dry, leave it to mix for between additional minutes (depending on machine, forced action mixer will be a couple of minutes) then come back - you might find you don’t need to add extra water after all. The ideal mix for pointing has a similar consistency to a snowball.
6. Mix for an additional 10-15 minutes. Some dry material might get stuck to the back of the mixer, so scrape it to the front.
The most important point when mixing lime mortar is to be careful not to add too much water, as this will make the material weaker.
When you’re pointing, take what you need from the mixer and leave the rest in - then mix it for another minute when you come back for it. This will keep the lime mortar fresh and at a good consistency.
The advantage of mixing lime mortar, plasters or renders in a forced mixer is that the rotating arms activate the molecules in the lime, and ensures that the mortar is mixed as desired, and lumps of lime are avoided. In a drum mixer, the force of gravity in combination with the filled volume is what determines how well the mix falls into the drum mixer and is mixed.
Lime mortar takes longer to mix than e.g. cement, therefore the forced mixer's faster mixing speed is also an important asset in choosing a mixing machine. The steel paddle of the SoRoTo forced mixer is perfect for mixing lime, and their uniquely angled mixing paddle provides a quick and well-mixed mixture.
The SoRoTo H-Buckets is a nice addition to improve effectiveness when working with the final output of the lime mix.
If lower quantities are mixed in a paddle mixer, make sure to have the best possible mixing paddle. We recommend a mixing paddle from our SCREW series or our SA120 from the EXPERT series.
Building with lime mortar
First, dampen the surface to which you’re going to apply the lime mortar - this will stop it absorbing the moisture from the material too quickly.
Then, place the lime mortar with a pointing iron or trowel. Cut the excess mortar leaving the joints flush, then wait for the mortar to set - this should take a few hours.
Once the mortar has stiffened, finish by stippling with a soft bristled brush to compact the joint and increase the porous nature of the mortar.
Now you know how to mix and build with lime mortar, why not consider replacing cement with this breathable and sustainable material. By doing so, you can play an important role in reducing the damaging environmental footprint of the construction industry.
_____________________________
Disclaimer: The following blog text contains guidelines regarding low cement castables and how to mix it as communicated by the company SoRoTo. However, it is important to note that these guidelines are for informational purposes only and should not be considered as a substitute for the manufacturer's guidelines. SoRoTo recommends that users always refer to the manufacturer's instructions and guidelines for their specific product to ensure proper and safe usage. SoRoTo will not be held liable for any damages or injuries that may result from the misuse or improper application of their guidelines.